If your CPU’s temperature rises often, it might spell some trouble for you. Fortunately, you can use SpeedFan on your laptop to regulate its cooling without much effort.
Here are the steps to use SpeedFan on your laptop.
1. Open SpeedFan, go to “Configure” > “Advanced” > “Chip”; select your CPU.
2. Set all PWM modes to “Software Controlled” in “Properties” and check the “Remember it” box.
3. Click “OK”, note down the 1st PWM percentage, and set it to 0.
4. Notice the temperatures on the right pane; the one that rises and turns red is the one that PWM 1 controls.
5. Repeat the same process for all the other PWMs and adjust each one accordingly.
To help you control the fans, we have written an extensive guide with easy-to-follow instructions on how to use SpeedFan on your laptop.
What Is SpeedFan?
SpeedFan is a software designed for Windows to give you control over your laptop’s fan speed, temperature, etc. Using the numerous sensors in the CPU, motherboard, and HDDs, it can automate your computer’s cooling cycles on its own.
Suppose you want complete access to the internal parts of your personal computer. In that case, SpeedFan is the answer, as it allows you to keep an eye on internal operations to ensure your laptop’s temperature remains cool even under a heavy load.
Using SpeedFan on Your Laptop
If you don’t know how to use SpeedFan on Laptop, follow our simple step-by-step method to do it without much difficulty.
Step #1: Install SpeedFan
To use SpeedFan, you must first install its software on your computer. To do this, open any web browser, go to the SpeedFan website, and click the first link in the “Download” section. Open the downloaded file and follow the on-screen prompts to complete the installation.

Step #2: Set Up Software Control
Launch the SpeedFan application and click “Configure”. On the new window, navigate to the “Advanced” tab and open the “Chip” drop-down menu. Select the chip that ends with “ISA”.
In the “Properties” section, click the “PWM1” mode and select “Software Controlled” from the “Set to” drop-down menu at the bottom. Repeat the same process for every other PWM mode, check the “Remember it” box, and click “OK”.

If you don’t find any PWM modes, the motherboard on your laptop does not support the SpeedFan software.
Step #3: Control the Fan Speed
On the main window, note the “PWM1” percentage on a blank paper or text file and set it to 0. After a while, one of the temperatures on the right pane should rise and turn hot, indicated by a flame icon.

On the right pane, a check mark denotes the average temperature, and a downward arrow indicates a low temperature. An upward arrow specifies rising temperature, and the flame icon means the component is too hot.
You now know what fan component is controlled by “PWM1”. Note it down and set the value back to the default one. Repeat the process for each PWM.
You can either set the value back to what they were or change them to adjust your fans’ speeds accordingly on your laptop.
Is SpeedFan Not Working on Your Laptop?
If you are facing issues using SpeedFan on your laptop, the following reasons might be at play.
Reason #1: Outdated Software
You will likely face problems with the SpeedFan if you have used either an outdated or corrupted software version. So, try downloading the application from the official SpeedFan website to get the latest and bug-free version.
Reason #2: Outdated BIOS
The SpeedFan software will likely malfunction if you use an outdated BIOS version. You don’t need to do it very often, but it is recommended that you update your BIOS to counter any problems with the software on your laptop.
Reason #3: Slow-Running Fan
If the fans in your laptop originally cannot blow air out at a higher speed, the SpeedFan software will not be able to function to make them faster.
Reason #4: Dying Fan
Another reason why SpeedFan may not seem to work on your laptop’s fans may be because they are damaged or dying. Therefore, look out for any signs of fan failure and replace them immediately if you find any issues.
You can also consider certain measures to increase the longevity of your laptop’s fan.
Reason #5: Incompatible Motherboard
A laptop motherboard that is incompatible with SpeedFan will not be able to detect it. To see if your laptop supports the software, go through the list of compatible devices on the SpeedFan official website.
Reason #6: Dirty or Blocked Fans
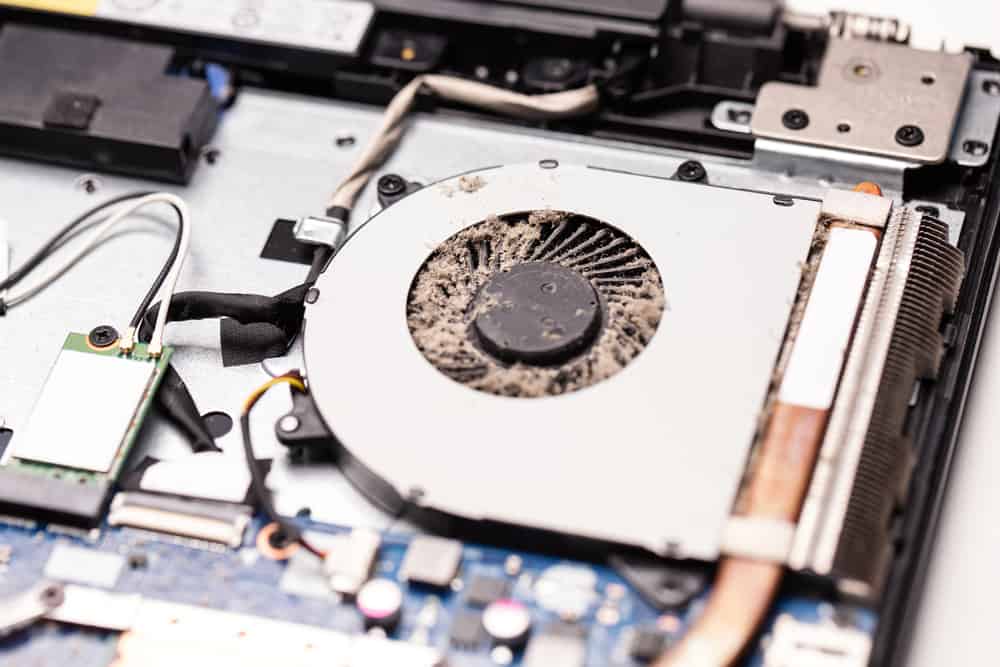
SpeedFan might not work on your laptop if the fan is blocked by a foreign object or has accumulated a lot of dust.

To fix this, you must clean the fan by turning off your laptop and locating the exhaust vents at the side and the intake vents at the bottom. Next, use a can of compressed air to remove the dust or any blocking particles.
Ensure not to blow any air into the speaker grills as it can damage them.
Reason #7: Outdated OS
If you haven’t updated your Windows OS in a long time, it might cause issues with the SpeedFan software. Therefore, download and install new OS updates on your Windows laptop as soon as they are available to avoid problems with the fan software.

Summary
In this guide, we have discussed how to use SpeedFan on your laptop. We have also discussed what SpeedFan is and multiple reasons why the software may not work, along with their fixes.
Hopefully, your issue is resolved, and you can control your laptop’s fan speed as needed.
Frequently Asked Questions
The SpeedFan setup file doesn’t include any malware or viruses, so you can download, install, and use it on your computer without risk.
The optimal fan speed for a laptop depends on many different factors. However, a 70% speed and 3000 to 4000 RPM are suitable.


