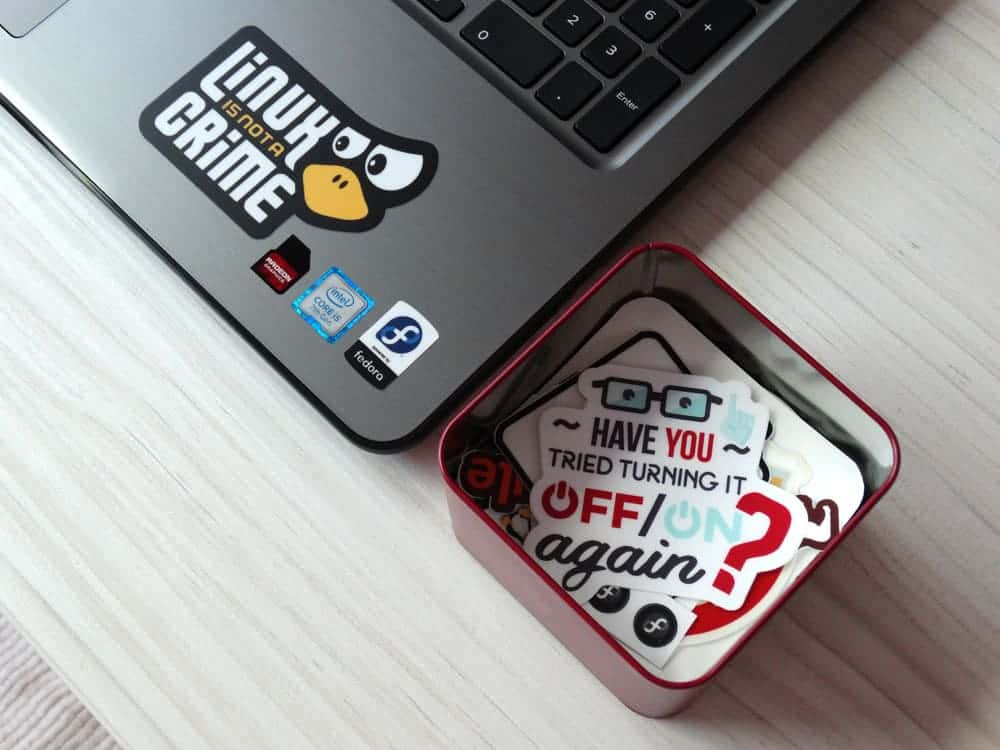
Whatever you want to express, you can do this the old-fashioned way, with stickers on your computer. We are talking about the old-school physical stickers here, not the stickers that are animated GIFs that you send to your friends in the midst of a hilarious conversation.
Stickers on your laptop have been an old way to express how cool and trendy you are since the beginning of laptops. Before iPhones, iPads, and Apple watches, there existed Generation Xers in the 90s with cool stickers on their laptops.
Physical stickers can be a sentimental phenomenon with memories attached. Maybe you have a sticker on your computer that you purchased on your backpacking trip to Chile. This sticker is such that you would need to go back to Chile to get a new one if you ever damaged it or lost it. Who knows if they even print that sticker anymore.
So if you need to take your stickers off your laptop but you want to keep them in mint condition, you are in luck! Here are methods to make sure you preserve your favorite stickers. This way, you can buy a new computer and simply transfer them over.
Method #1: Heat up the Sticker with A Blower
The best way to safely remove a sticker is to understand what makes stickers stick in the first place. The adhesive on the back of the sticker typically gets dry over time. This means that the adhesive is being activated in the incorrect manner in some cases.
The easiest and safest way to counteract the adverse effects of taking your sticker off with an old adhesive is to melt the adhesive. You do this with the heat, of course!
Get a heated blower and start applying it to the sticker. The heat in the blower should melt the adhesive substantially.
Once you have heated it to an acceptable amount, you should be able to feel the sticker becoming substantially looser or unstick. Once this happens, you should be able to peel the sticker off gently without damaging it whatsoever. Then place the sticker somewhere safe for reuse!
Method #2: Use a Slimy Substance
Typically a slimy substance that counteracts the adhesive elements of the sticker can be used to slide the sticker off of the computer. Most of these slimy substances will, of course, be oil-based substances.
Gently apply the slimy, oily substance with a cloth to the sticker. Tee tree oil, petroleum jelly, and olive oil are all examples of household items we all have that can be used to remove the sticker.
Once you apply the oil, you should be able to again, gently remove the sticker from your laptop. You can now dry it off if you would like before safe, reliable storage.
Method #3: Use a Damp-Water Cloth
If you are out of slimy substances or are one of those people who likes to use only natural ingredients, then a damp cloth will work. Firstly, find a very clean cloth and run it through some water.
Once the cloth is damp, then hold it against the sticker. Make sure you pay close attention to the edges of the sticker because this is where you will be peeling it off.
Once you feel the sticker is damp enough to counter the adhesive yet not too damp to ruin the sticker, gently peel it from the edges. If parts are giving you trouble, then just apply a more damp cloth to those parts.
Method #4: Solvents
If you want to be more of a chemist about things, then you should look into applying a solvent. Solvents are materials that will work against adhesives by dealing with them chemically. As a result, they will dissolve the adhesive and make the stickers more easily removable.
Acetone, lighter fluids, and vinegar are all examples of solvents that will work very well in dissolving the adhesive. Apply this solvent to a wet cloth and try to focus on the edges of the sticker.
You might need to wait for a bit for the solvent to properly work against the adhesive. Then peel the sticker off using the edges first, and voila, you have a mint condition sticker ready for reuse.
Method #5: Use a Knife
Ok, for those that are incredibly delicate and have no other options, the last resort is to use a knife. We don’t typically recommend this as it can leave marks on your computer.
If you are looking to sell an old computer, then you should definitely avoid this. However, for those who can properly use a knife carefully, this can be an option.
Slowly use the blade of the knife to loosen the edges of the sticker. Once you have the edges on one side unstuck, then keep working down the sticker. Use the knife to rub out the adhesive. Slowly work down the sticker, gently rubbing the adhesive out with your knife and then slowly lifting the sticker.

