If you find that your iPad’s display tends to go to sleep too fast, you’re not alone. This can lead to frustration and annoyance as you try to do something with the device, only for it to turn off way too soon before you even have a chance.
The auto-lock setting on your iPad determines how long the screen stays active after you’ve unlocked it. Within the Settings of your iOS device, you can easily adjust this timeout duration.
This makes sense, as the screen automatically shuts off after some time to conserve battery life and prevent unauthorized access to the iPad. It’s an important setting to change if you find your iPad is going into sleep mode too quickly or too slowly.
If you’d like to know how to change the timeout setting on your iPad, you’ve come to the right place. You can take simple steps to prevent this snooze from happening so often.
Step #1: Open the Settings on Your iPad
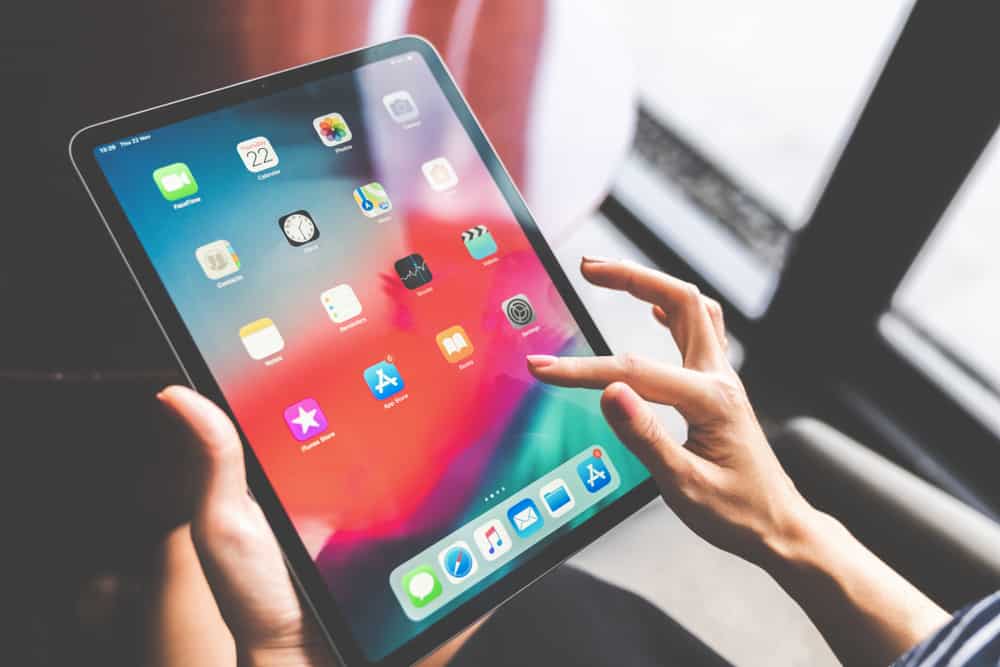
For this process to begin, you will need to power on and unlock your iPad. You can do this using Touch ID, Face ID, or a passcode, depending on the model of your iPad.
You can launch the Settings app by tapping it on the home screen.
Step #2: Click “Display and Brightness”
Within the settings area, click on the “Display and Brightness” option; you can manage all display-related settings here.
Look for the auto-lock setting here; this will be the setting that controls how long the display remains active.
Step #3: Adjust the Auto-Lock Duration
You can adjust this screen timeout duration from as little as 30 seconds to as long as 5 minutes based on your preferences.
You can also set the duration to “Never“, meaning the display will remain active even after long periods of inactivity.
What To Do if the Auto-Lock Option Is Greyed-Out
A greyed-out auto-lock feature on your iPhone or iPad is no big deal; there is a simple fix. An iOS device may fall into this situation if a battery-saving setting called Low Power Mode is enabled.
This setting, when enabled, will extend the battery life of your iPhone or iPad, and the auto-lock duration will default to 30 seconds which you can’t change unless Low Power Mode is disabled. The reason is to preserve the battery if running on low power.
To adjust the screen timeout duration of an iPad in Low Power Mode, you must disable the setting first. There are a few different ways to do this.
- Go to the Settings app on your iPad, scroll down, click “Battery“, and tap the toggle next to “Low Power Mode” to enable or disable it.
- You can add the “Low Power Mode” toggle to the Control Center and turn it on or off.
- If you prefer, you can ask Siri to disable the Low Power Mode rather than going through several settings.
That’s how you can turn off the Low Power Mode on your iPad. Though it’s a convenient feature, it is helpful to know how to turn it off if you need to change the screen timeout duration.
Frequently Asked Questions
If you wish for your iPad’s screen to never turn off, you can set the auto-lock time duration to “Never” from within the “Display and Brightness” section of the Settings menu. The iPad’s display is the most power-hungry component, significantly reducing its battery life.
The auto-lock setting on your iPad or iPhone might be greyed out and stuck at 30 seconds because of the Low Power Mode. It’s to prolong your device’s battery life and give you some extra time if you’re on low charging and not in a position to charge it.
To customize the Control Center, go into the Settings app and click “Control Center“. You can then click the plus (+) sign and add “Low Power Mode” to the list; then, swipe down to open the Control Center whenever you want to toggle it.
Without auto-lock, the iPad screen will always be on. If this setting is set to “Never”, the screen will drain your battery much more quickly. If you set the auto-lock to less than one minute, your iPad’s screen will turn off as soon as you are not using it, saving the battery.
