
Do you hate the time it takes on your iPad to share photos with others individually? Luckily, you can now select all Photos at once on your iPad.
To select all photos on your iPad, launch the “Photos” app and tap the “Albums” tab at the bottom. Select an Album and tap “Select” from the upper-right corner of your iPad screen. Tap “Select All” at the top-left.
We have put together a detailed guide for you on selecting all photos on an iPad using simple step-by-step methods to make the whole process easy for you.
Selecting All Photos on iPad
If you are wondering how to select all photos on your iPad, our four step-by-step methods will help you accomplish this task without much trouble.
Method #1: Using Tap and Gesture
Although you get the Select All option on your iPad, it’s unavailable for all the Photo Albums. However, you can use the tap and gesture method for selecting all photos on your iPad in the following way.
- Tap the “Photos” app and tap “Library” at the bottom.
- Tap “All Photos” at the bottom to view all images, and tap “Select” at the top.
- Beginning from the last image (in the lower right corner), tap and drag your finger across the entire row till you reach the far-left corner.
- Keep holding that position, swipe upwards, and keep your finger at the very top of your iPad screen.
- While keeping your finger in place, your iPad will scroll through all your photos.
- Hold down till you reach the very first image in the upper-left corner.
All the Photos on your iPad are successfully selected now, and you can choose to either share them with your friends or delete them.
The “Tap and Gesture” method is a bit complex, but you can do it correctly with practice.
Method #2: Using the Select All Option
On your iPad, you can select all pictures in some sections of the Photos app. This includes the Albums tab except for the Recents and Imports, Days section, and files under the For You tab.
You can use the Select All option for choosing all photos on your iPad with these steps.
- Launch the “Photos” app on your iPad.
- Tap the “Albums” tab at the bottom and select an Album.
- Tap “Select” from the upper-right of the iPad screen.
- Tap “Select All” from the top.

All the Photos on your iPad are successfully selected now.
Method #3: Dragging and Selecting All Photos
Generally, when you want to select multiple photos app on your iPad, you need to manually tap through all of them. Although it’s not a bad option, when you have hundreds of photos to choose from, this may get hard.
With these steps, you can now select multiple images on your iPad using the Photos app in less time.
- Tap “Photos,”
- Tap “All Photos.”
- Select the folder from which you want to choose multiple photos and tap “Select” at the top.
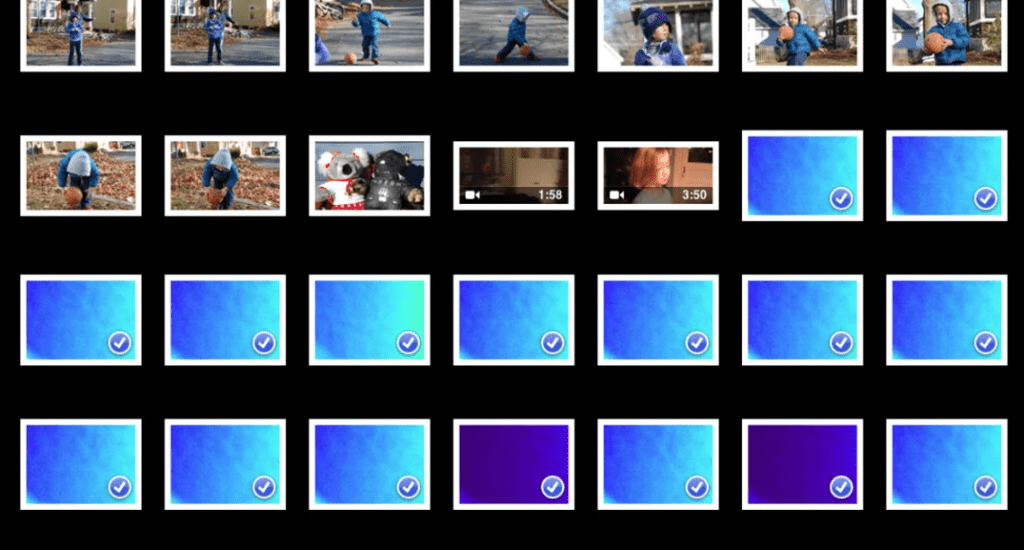
- Once you tap an image in the folder, a blue checkmark will appear on it.
- Lightly tap the photo and drag it either vertically or horizontally, depending on the direction of pictures you want to select.
- A blue checkmark will appear on the chosen photos when you do this.
- Let go of the screen once all the photos are selected on your iPad.
Method #4: Selecting Photos Manually
The easiest way to select all photos on your iPad is to choose them manually with these steps.
- Tap “Photos.”
- Tap the “Library” tab at the bottom and tap the “All Photos” tab.
- Tap “Select.”
- Tap and select all the Photos on your iPad one by one.

You can also see the total number of selected photos at the bottom of the screen.
Selecting and Downloading All iPad Photos Using iCloud
It is possible to connect your iPad to your PC and use iCloud to choose and download all the pictures in the following way.
- Connect your iPad to the PC using a lightning cable.
- Open “iCloud.com“ in the web browser on your PC and sign in with your Apple ID.
- Click the “Photos” icon on the left sidebar.
- Click on an image, hold the “Shift” key, and select all photos.
- Select the “Download” icon at the top to download all the photos on your PC.

Summary
We’ve discussed selecting all photos on an iPad with several quick DIY Methods in this guide. We have also looked into selecting and downloading all your iPad images using iCloud.
Hopefully, one of these methods has worked for you, and now you can share or delete all pictures on your iPad quickly.
