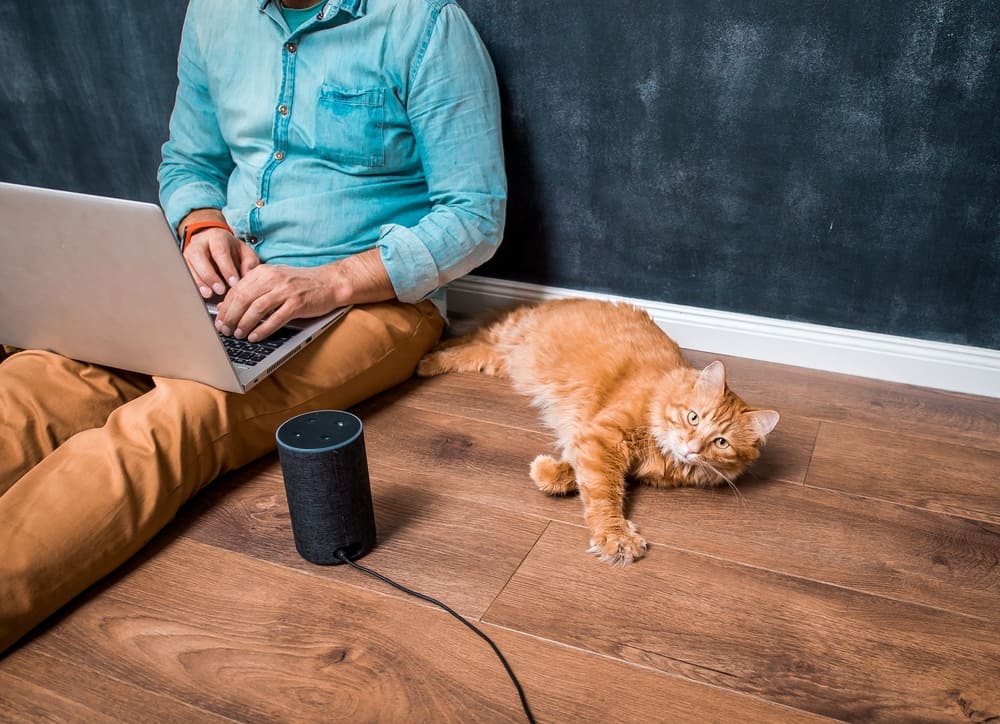
Using your Alexa as a speaker for your PC is an excellent idea for several reasons. The sound quality is decent, so you don’t need to spend money getting dedicated PC speakers. Plus, it helps to reduce the wire clutter on your desk, especially if you connect the speakers via Bluetooth. And finally, you can still benefit from Alexa’s services and voice commands as opposed to your regular speakers.
To use Alexa as a speaker for your PC, you need to connect your device to your computer. Depending on the Alexa-enabled device you have (like Amazon Dot or Echo), you can choose to connect it to your computer using an AUX, or you can use Bluetooth.
If you’re unsure how to connect your Alexa device to your PC, here’s everything you need to know.
How To Use Alexa as a Speaker for PC
Depending on your device, there are two ways to connect Alexa to your PC and use it as your speaker: via AUX or Bluetooth. Let’s discuss both in detail.
Method #1: Using Alexa as a Speaker Using AUX
Even though headphone jacks are becoming a rare sight, they’re still present in most PCs, making it very easy to connect speakers – all you need to do is plug in the AUX cable.
When it comes to connecting your Alexa-enabled device to your PC via AUX, you need to check if it’s possible to do so. While Amazon Echo and Dot devices come with the standard 3.5mm jack, not all of them can function as the AUX input, especially if you have an older model. Newer models, as well as premium Echo devices, include the AUX input.
So, connect your compatible Amazon device to your computer via an AUX. Next, you must use the Amazon Alexa app to set it as Line-In. Here’s what you need to know.
- Ensure your device is set up in the app, powered on, and plugged in via an AUX cable.
- Open up the Amazon Alexa app. On the top left, you’ll see three dots; click that.
- Select Settings > “Device Settings“.
- Choose your speaker from the list and then go to the “General” section.
- Choose “AUX Audio” > “Line In“
That’s it! Whatever you play on your computer should now be played through Alexa.
Method #2: Using Alexa as a Speaker Using Bluetooth
If you like a cleaner setup, free from the clutter of wires, you should consider connecting Alexa to your computer via Bluetooth.
Most people prefer connecting the speakers via AUX because of the lag-free connection. Plus, it is less susceptible to interference than Bluetooth; however, the latter is more convenient. So if you’ve also decided to go ahead with Bluetooth connectivity, here’s what you need to do.
- Open up a web browser on your PC and go to http://alexa.amazon.com/.
- Log in using your Amazon account credentials. If you don’t have an account yet, sign up.
- Click on “Settings” in the menu on the left and choose your device from the list of devices on the main screen.
- Click on “Bluetooth“> “Pair a new device“. The device will not start looking for available Bluetooth devices.
- Ensure sure your PC is discoverable. To do so, open the Bluetooth settings by typing “Bluetooth” in the search bar on the bottom left of your screen and choosing “Bluetooth and other device settings” from the search results.
- Click “Add Bluetooth or other device” at the top of the screen and choose “Bluetooth” on the next screen.
- Choose your Echo from the list of available devices and click “Done” to confirm. You have successfully connected your Echo to your computer as a speaker.
- Go back to your web browser and click on the Back button to go back to the Bluetooth settings. If you follow all the steps correctly, you’ll be able to see your PC under “Bluetooth Devices“.
Summary
Using Alexa as your speaker for your PC has its benefits – you don’t have to deal with wires, and you can still use voice commands. And even if you don’t have Bluetooth on your PC, you can still make Alexa function as the speaker by connecting it via the AUX, provided your model isn’t too old. We’ve listed both methods in detail above. Follow those steps, and you’ll be good to go!


