Do you want to take notes of some important points by recording while attending a virtual meeting or a podcast on your iPhone? Fortunately, you can record internal audio without much effort.
The Screen Recording app can record internal audio on an iPhone. To add it to the Control Centre of your device, tap Settings > “Control Center” > “More Controls”. Tap the “Add” icon. Swipe the Control Centre, tap the “Screen Recording” icon, and start recording. Once done with recording, tap the red icon in the status bar and “Stop”.
We took the time to write a comprehensive step-by-step guide on recording internal audio on an iPhone via the Screen Recording app. We will also explore the process for recording internal audio using third-party apps on iPhone.
Recording Internal Audio on iPhone
If you don’t know how to record internal audio on your iPhone, our 4 step-by-step methods will help you do this task easily.
Method #1: Recording Internal Audio From the Screen Recording App
These steps allow you to record internal audio from your iPhone’s built-in Screen Recording app.
Step #1: Add the Screen Recorder to Control Center
In the first step, launch the Settings app from the home screen of your iPhone.
Go to “Control Center” > “More Controls”, and tap “Add” next to “Screen Recording”.
If you are using iPhone 13 or an earlier model, tap “Customise Controls”.

Some apps might not allow you to record internal audio on your iPhone, so always do a sample test first by making a short screen recording.
Step #2: Record the Screen on iPhone
After adding the Screen Recording app to the Control Center, the next step is to start recording on your iPhone. For this, swipe down from the screen’s upper-right corner to open the Control Center. Tap the Screen Recording icon. If you don’t want to record external audio, tap the red microphone icon to turn it off. Tap “Start Recording”.

It takes 3 seconds to begin Screen Recording on your iPhone.
Step #3: Stop the Screen Recording
To stop screen recording on iPhone, tap the red icon in the status bar at the top of the screen. Tap “Stop” in the dialog box, and the recording will be saved in the Photos app.

After recording, you can detach the internal audio from the video by using QuickTime Player on Mac.
Connect your iPhone to your Mac with a lightning cable, and transfer the recording to your Mac computer. Open the recording in the QuickTime Player app on the laptop. Click “File” > “Export As” > “Audio Only”, and you will get the recorded audio file.
Method #2: Recording Internal Audio From the Voice Memo App
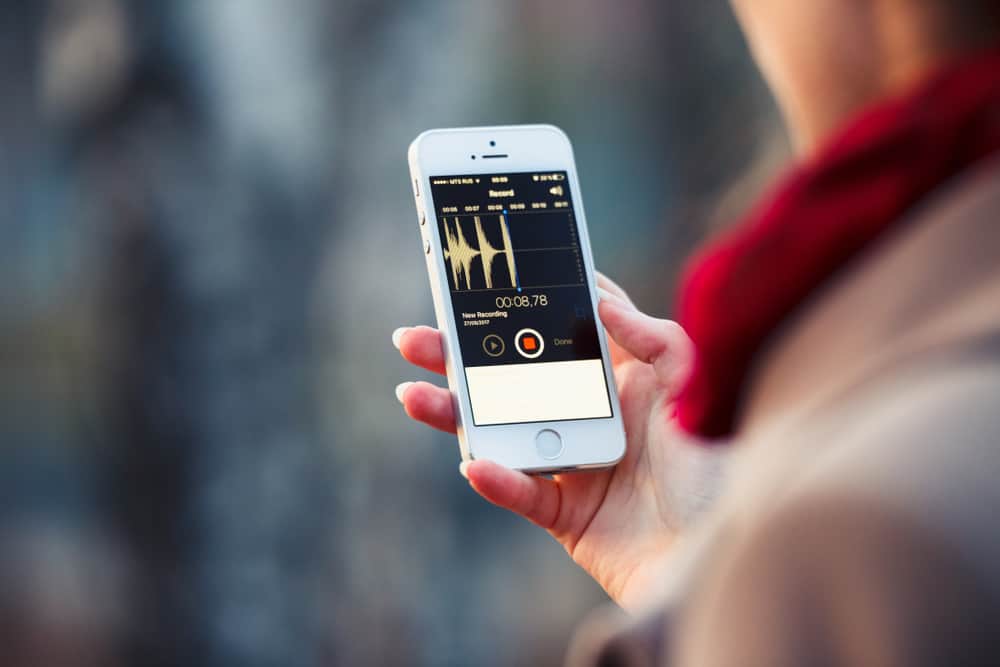
Voice Memo is a built-in app on iPhone used for recording audio coupled with fine-tuning and editing tools. To record internal audio from Voice Memo app on iPhone, do these steps.
- Open the “Extras” folder from the home screen of your iPhone and launch the Voice Memo app.
- Tap the red button at the bottom of the screen to start the internal audio recording.

- To stop the internal audio recording, tap the red button again.
- The recording is saved in the Voice Memo app to share afterward.
You can extend a saved audio file recording on the Voice Memo app. Tap the three dots icon next to your recording and tap “Edit Recording” > “Resume”. The recording will restart from the previous endpoint.
Method #3: Using TechSmith Capture
TechSmith capture is another third-party app compatible with your iPhone to record internal audio.
Here is how you can use TechSmith Capture on your iOS device.
- Download and install TechSmith Capture on your iPhone.
- Open the app and ensure a checkmark is shown next to the TechSmith Capture option.
- Tap “Start Broadcast”, and you’ll see a 3-second timer, allowing you to prepare for the recording.

- Once you are done recording internal audio on your iPhone, tap the red button in the top-left corner to stop the recording.
The internal audio recorded on your iPhone from the TechSmith Capture is saved inside the app. You can share it quickly via any social media app, AirPlay, or other services. Remember to turn off the microphone from the main menu of the app.
Method #4: Using Voice Record Pro
You can install the Voice Record Pro app on your iPhone and use it to record internal audio by following these steps.
- Download and install Video Record Pro on your iPhone.
- Launch the app and prepare your phone for recording.
- To start recording, tap the red button.
- Tap the blue button to end the recording, and the audio file will be saved in the app.
Summary
In this guide about recording internal audio on an iPhone, we’ve discussed a simple method to save audio using the built-in Screen Recording app on your iOS device. We’ve also discussed using a few third-party apps to record internal audio and share it with others afterward. We hope your troubles are over, and now you can record what you play on your device.


