iPhones come with Trust Stores that contain trusted root certificates pre-installed on your device. However, there are several reasons why you will want to use custom certificates. Due to their low cost, custom certificates are usually the preferred option for development and testing environments. They are also often suitable for internal (intranet) servers as they can be deployed easily and quickly. Now, the question is, how do you make an iPhone trust a custom certificate?
Generally, iPhones automatically trust root certificates signed by a trusted Certificate Authority (CA). But in case of custom certificates that a CA does not sign, your iPhone may not trust it. The way around this is to email yourself the certificate or upload the root certificate to a website and then download it with Safari. Afterward, go to your iPhone Settings app to install and enable trust for the certificate.
Provided the certificate has the CA Basic Constraint extension, Apple will allow you to trust the certificate manually. This article will explain the step-by-step process to fix trust certificate issues on the iPhone.
How Do I Make My iPhone Trust a Custom Certificate?
Installing a self-signed or custom certificate is different for different versions of iOS devices. But for the sake of this guide, we will be using iOS 10.3 and later. Before now, to make an iPhone trust a custom certificate was easy since all you had to do was send the file to your iPhone, and it will automatically trust it.
Now, that’s no longer the case. Even after installing the certificate, your iPhone wouldn’t trust it. The steps below explain how to make your iPhone trust a self-signed certificate.
Step #1: Get the File on Your iPhone
Export the certificate or profile to your iPhone by emailing the certificate to yourself, uploading it to a website, then downloading it with Safari, among others. When you get the certificate on your device, download it. If successful, you will get a prompt that a profile has been successfully downloaded, of which you can then click on the close button.
Step #2: Install the Certificate
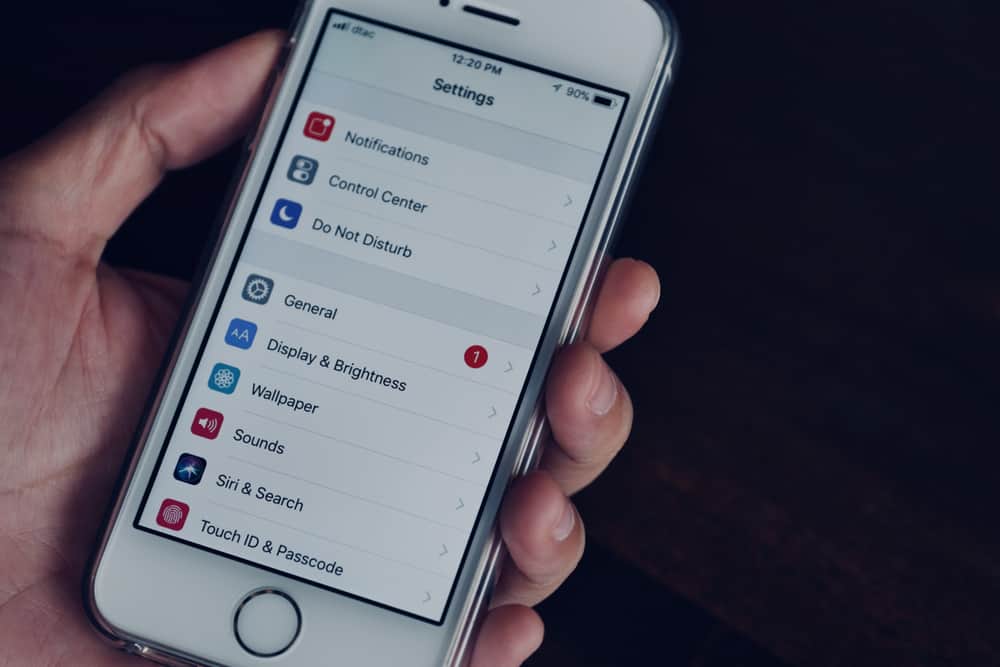
To install the certificate, go to the Settings app on your iPhone, and on top of the settings menu, you will see the option “Profile Downloaded” below the Apple ID row. Tap on it to display the “Install Profile” menu.
At the top-right corner of your screen, tap “Install“. If your iPhone has a passcode set, you will be prompted to enter it to proceed. Enter your password and tap “Install” again. Once installation is successful, tap on “Done“.
Step #3: Enable Trust
After installing a self-signed certificate, it wouldn’t be automatically verified. To enable trust for the certificate, open the Settings app again and navigate your way to the “General“. So on the profile menu, you’d see the message “Not Verified“.
Under “General”, tap on “About” and then tap on “Certificate Trust Settings“. Under “Certificate Trust Settings”, you’d see the profile you just installed, and you can toggle it on to enable full trust for the profile.
iPhone users using iOS 10.3 and older versions that want to install custom certificates must go to the settings menu to allow the certificates’ trust manually. Also, you can only use SSL between two endpoints if the custom certificate matches one of the pre-installed root certificates on your iPhone.
Conclusion
Enabling your iPhone to trust custom certificates is easy, but use it cautiously. Not all certificates are trustworthy. Giving trust permission to a profile you don’t know could expose you to security issues. So, if you don’t know much about the profile, it is better not to enable trust than to enable trust and be exposed to security breaches.
Frequently Asked Question
Enabling trust for profiles on iPhone is necessary when you are conjuring SSL filtering for the first time. Sometimes, you may need to enable trust for certificates or profiles when the certificate has expired or is being reissued. Similarly, when installing profiles manually, you will need to enable trust for it.
Yes, enabling trust to certificates of unknown sources can be used maliciously. Installing a new certificate on your iPhone has always been a known vulnerability; enabling trust for only the certificate you trust is essential. And if at any point you no longer trust any certificate, you can always delete it from settings.
You may get this error because you are using a certificate from a CA that is not on your device’s approved list of certificates. To fix this, go to your email server, navigate your email account to advanced settings, and then find the option to accept all certificates and enable it.


