3D photos are very trendy these days and for all the right reasons. They allow you to capture a picture by covering more angles and portraying a person or an object closer to how they look. However, many users don’t know how to create 3D photos on iPhones.
Although there is no direct way to take 3D photos on iPhone, you can still create them using third-party apps. To do so, open Facebook and tap “What’s on your mind?” > “Photo/Video”, and select an image. Tap “Effects” and select “3D” from the list of options.
To make things easy for you, we have written a comprehensive step-by-step guide on how to take 3D photos on iPhone.
Can You Take 3D Photos on iPhone?
Although it is possible to take 3D photos on iPhone, you must use third-party apps. Apple has not introduced any feature that allows you to create 3D photos from your phone’s camera.
Creating 3D Photos on iPhone
If you are wondering how to do 3D photos on iPhone, our 3 detailed step-by-step methods will quickly guide you through the entire process.
Method #1: Creating 3D Photos Using Facebook
On an iPhone, you can use Facebook to create 3D photos in the following way.
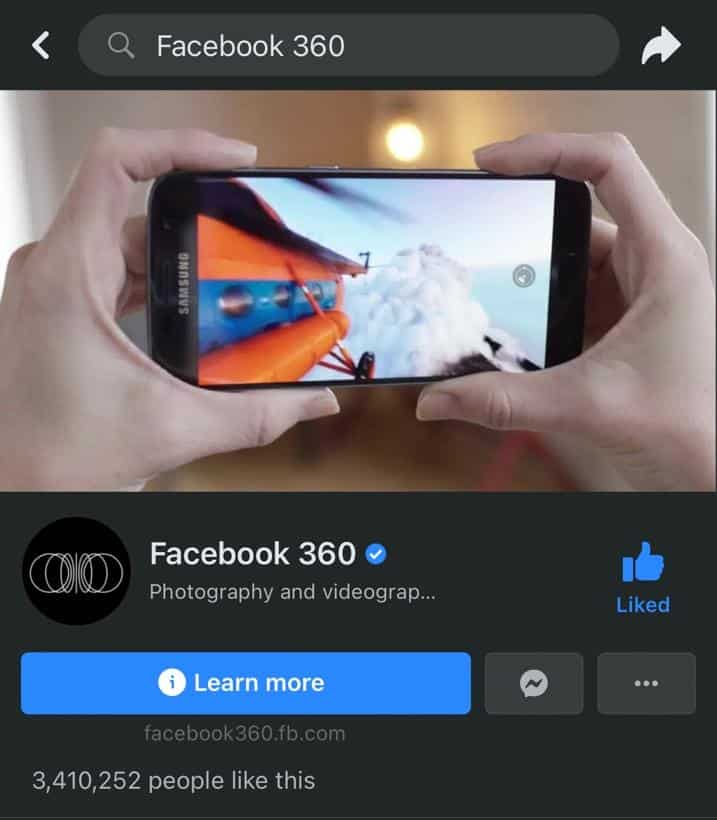
Step #1: Like the Facebook 360 Page
The first step in creating 3D Photos using Facebook is liking the Facebook 360 page. Unlock your iPhone, swipe left to access the App Library, and tap Facebook.
Once the app is launched, tap the search icon at the top of the screen, and type “Facebook 360” in the search box. After you have located the relevant page, select to open it and tap the thumbs-up icon to like it.
Step #2: Create a 3D Photo
In the second step, it is time to create a 3D photo. To do so, open Facebook, tap “What’s on your mind?” > “Photo/Video”, select an image from the camera roll, and tap “Done”.
Finally, tap “Effects” at the image’s top-left corner and select “3D” from the options available.
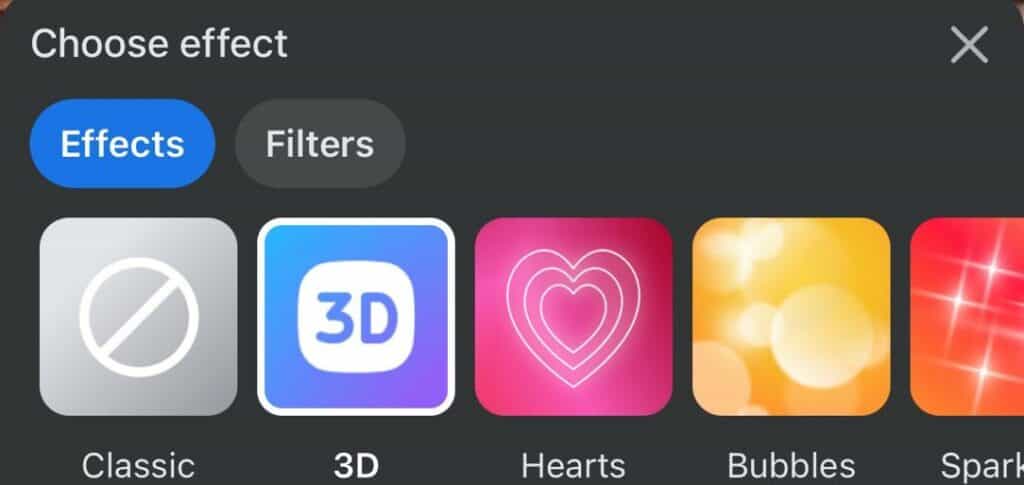
Once you select the 3D Effect, the app will process your photo and turn it into three-dimensional.
If you want to revert the picture to two-dimensional, tap “Effects” and select “Classic”.
Method #2: Creating 3D Photos Using PopPic
You can also create 3D Photos on your iPhone using a third-party app called PopPic with the help of these quick and easy steps.
Step #1: Install PopPic
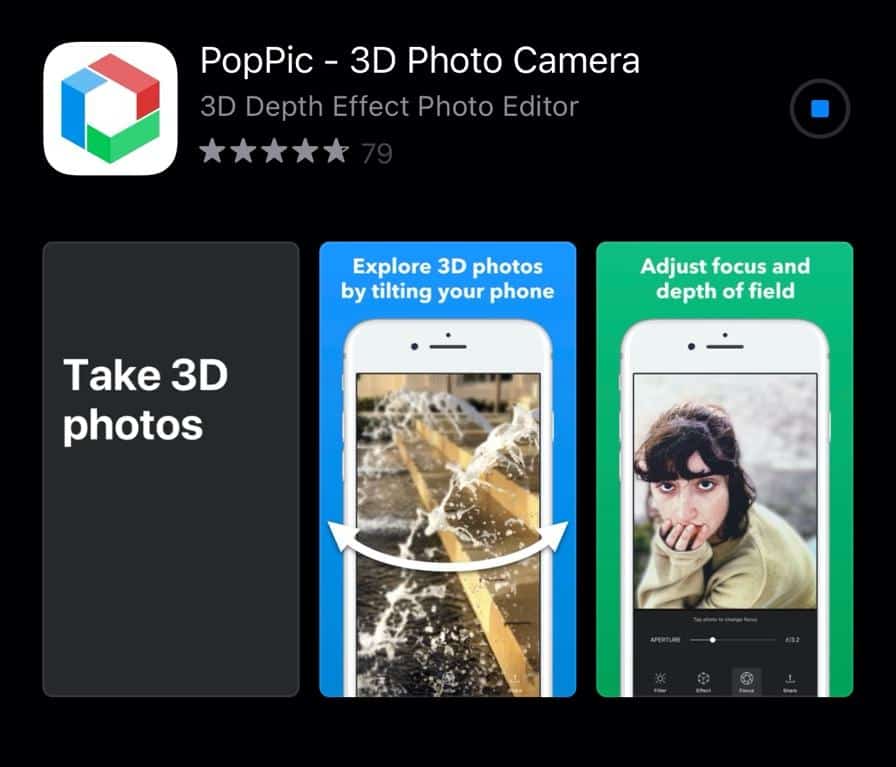
To install the app on your iPhone, go to App Store, tap the search option at the lower left corner of your screen, and enter “PopPic“ in the search box.
Download the app on your iPhone by tapping “GET” next to the app and entering your password to confirm.
Step #2: Launch PopPic
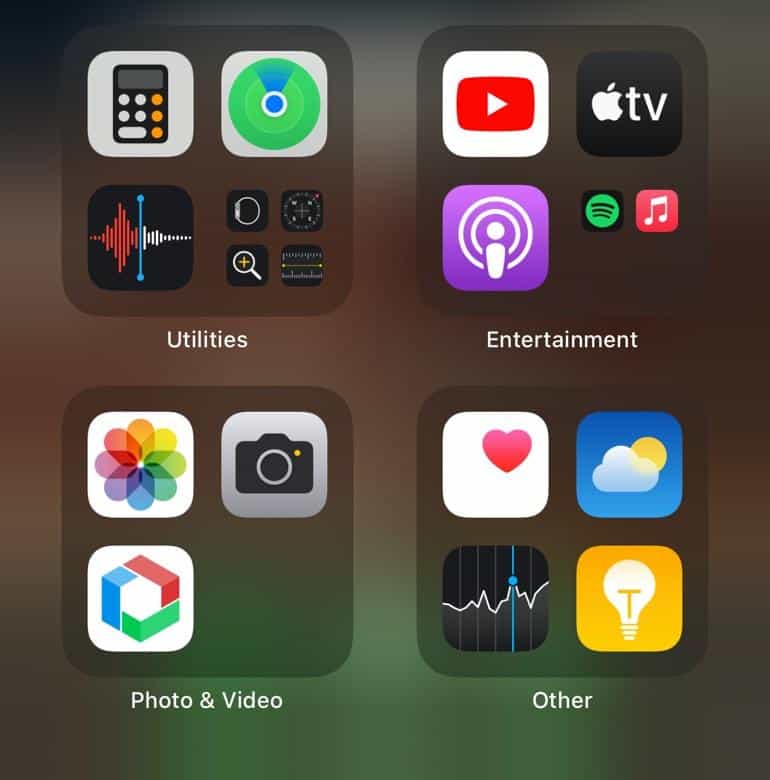
Once the app is installed, swipe left to access the App Library, and tap the PopPic app.
After the app has been launched, tap the green “GET STARTED” button and grant the app permission to access the Camera app and Photos app by selecting “OK” > “Allow Access to All Photos” from the pop-up message.
Step #3: Take 3D Photos
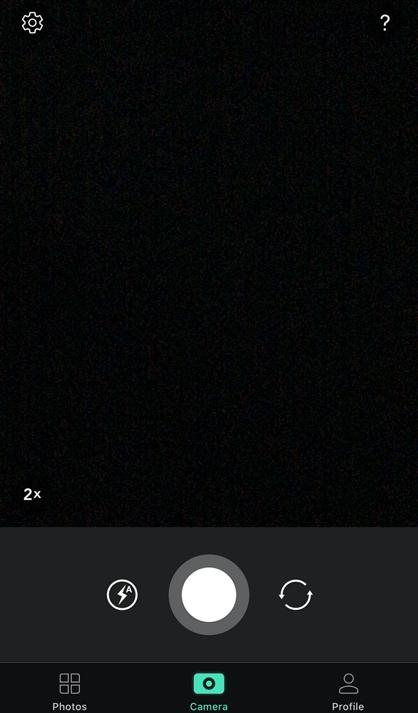
To take a 3D photo using the app, tap the camera icon at the bottom of the screen. Once you have positioned the camera at a person or an object, tap the white circle button to capture the photo.
Once you get the picture you want, tap “Save” at the top-right corner of the screen, and it will be saved in the Photos app on your iPhone.
Using the steps below, you can also save the photo as 2D on PopPic.
1. Tap the white circle button to capture a photo.
2. Tap the share icon.
3. Tap “2D Image”.
4. Tap “Save Image”, which will be saved in the Photos app.
Method #3: Creating 3D Photos Using Parallax
If you want to take 3D Photos on your iPhone, you can use the Parallax app with the help of the following steps.
Step #1: Install Parallax
To install the app on your iPhone, go to App Store, tap the search option at the lower left corner of your screen, and enter “Parallax” in the search box.
To download it, tap “GET” next to the app and enter your password to confirm.

Step #2: Create 3D Photos
Once the app is installed, locate Parallax in the App Library and tap to open it. After launching it, give the app permission to access the Photos app by selecting “Allow Access to All Photos” from the pop-up message.
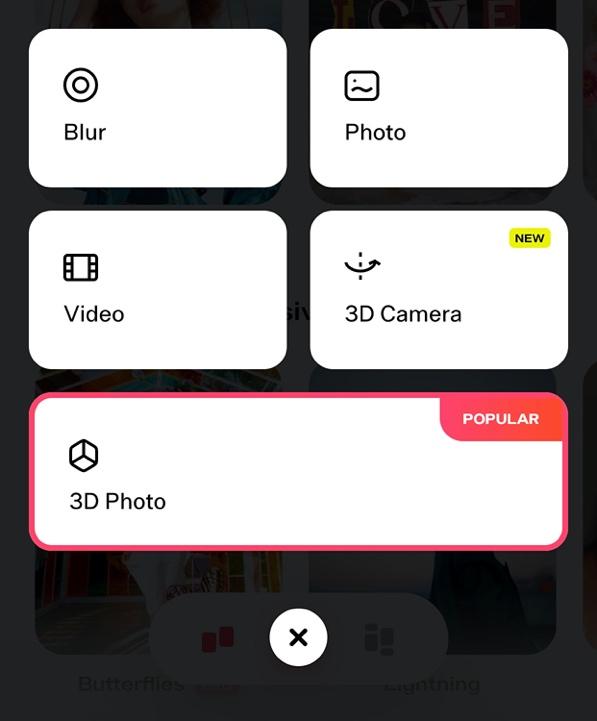
Now tap the pink “Add” icon at the bottom of the screen and select “3D Photo” from the menu. Then, select the picture you want and wait for the app to process it.
Once the picture has been turned into 3D, tap the share icon at the top-right corner of the screen and select “Save Image” to download the photo on your iPhone.
Summary
In this write-up on how to take 3D photos on iPhone, we explored different ways to create multi-dimensional pictures on your phone.
Hopefully, your questions are discussed in this article, and now you will create and post trendy three-dimensional pictures on social media accounts.


