Has your PC’s keyboard suddenly started acting up, and you don’t know how to fix it? This usually happens because of outdated keyboard drivers. However, reinstalling them can sometimes fix the problem.
To reinstall the keyboard Driver on your PC, right-click “Start Menu” to open “Device Manager.” Expand the “Keyboards” section, right-click any available keyboard, choose the “Uninstall Device” option from the context menu, and press “OK” to confirm. Restart the PC, and the keyboard driver will reinstall automatically.
We have compiled a comprehensive guide for you to explore several methods for reinstalling the keyboard driver on your Windows 10 PC.
Reinstalling Keyboard Driver
If you are wondering how to reinstall the keyboard driver, our five step-by-step methods will help you accomplish this task without difficulty.
Method #1: Using Device Manager
One of the easiest ways of reinstalling the keyboard driver on your Windows 10 PC is by using Device Manager.
- Right-click “Start” on your Windows PC and click the “Device Manager” option.
- Expand the “Keyboards” section and right-click on your installed keyboard.
- Choose “Uninstall Device” from the context menu.
- A confirmation message will appear on the screen; click “OK” to confirm.
- Restart your PC, and the keyboard driver will automatically reinstall.

Method #2: Using the Official Website
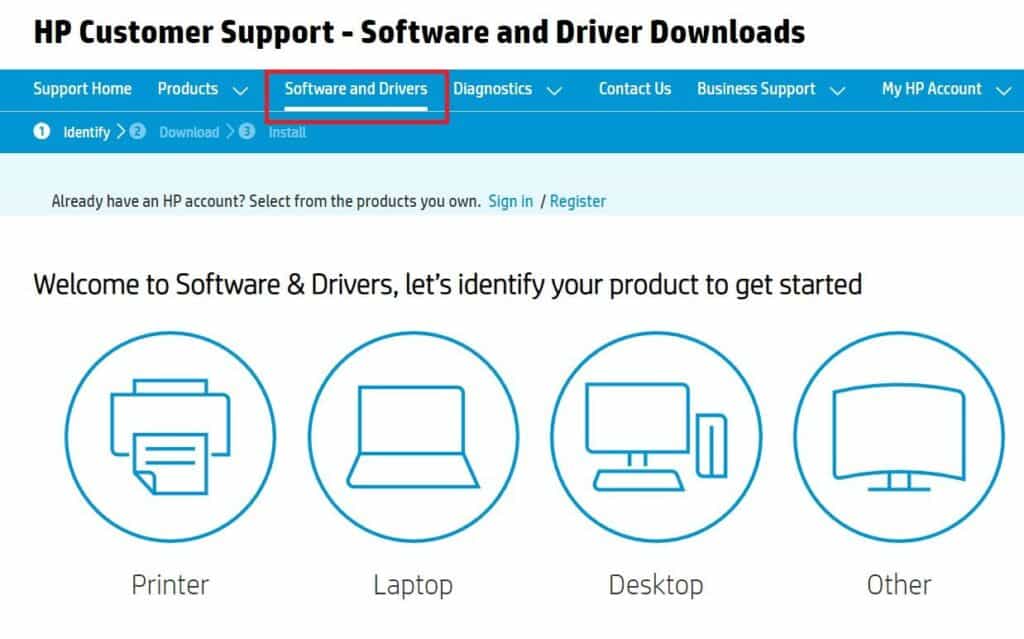
You can easily reinstall the keyboard driver on your PC via the official website of your keyboard manufacturer.
- Visit your keyboard manufacturer’s website and go to the “Support & Driver” tab.
- Scroll and find the driver listed for your keyboard.
- Download the driver, unzip the file, and run the .exe file.
- Follow the on-screen instructions to reinstall the keyboard driver successfully.

Method #3: Scanning for Hardware Changes
You can scan your PC for hardware changes to reinstall the keyboard driver.
- Uninstall the keyboard driver from the Device Manager as explained in the first method.
- Right-click on the “Keyboards” option from the list.
- Choose the “Scan for Hardware Changes” option from the context menu.
- Wait for a few seconds till your Windows scans and reinstall the keyboard driver successfully.

Method #4: Using Driver Backup
It is possible to make a backup of your keyboard driver and reinstall it afterwards on your Windows PC. The complete method for this process is mentioned in the steps below.
Step #1: Creating a New Folder
Go to the “File Explorer” app on your PC and open the C Drive. Right-click on a blank space, select “New Folder,” and name it “Driver Backup.”
The backup method only backs up the .inf driver and not the .msi or .exe files.
Step #2: Opening Command Prompt
On your Windows search bar, type “cmd.” Choose “Command Prompt” from the search results. Select the “Run as Administrator” option and confirm the action with “Yes.” The command prompt window will open up with administrative rights.

Step #3: Storing Driver Backup
Type “DISM/online/export driver/destination: \Driver Backup” in the command prompt window. This will store the keyboard driver on your device in the C Drive under the “Driver Backup” folder.

Step #4: Uninstalling Driver
Hit “Windows+ R” Keys, type “devmgmt.msc” in the “Run Dialog” box, and press “Enter” to open the “Device Manager.” Find the “Keyboards” option from the list and expand it—Right-click any available keyboard. Choose “Uninstall Device” from the pop-up menu and click “Uninstall” to confirm.
Step #5: Reinstalling the Driver
Head to Device Manager, expand the Unknown devices section, select and right-click the unknown device, and choose “Update Driver.”
Select the “Browse My Computer for Driver” option. Click “Browse” and select the folder where you have stored the keyboard driver earlier, i.e., Driver Backup. Wait for the installation process to complete and restart your PC afterwards.
Reinstalling Keyboard Driver on Mac
If you have a Mac computer, you can reinstall the keyboard driver in the following way.
- Disconnect the keyboard from your Mac.
- Launch Finder, click “Go,” and head to the “Library” section.
- Select all the folders related to the keyboard driver and move them to Trash.

- Empty the Trash and connect the keyboard to your Mac.
Now, the Mac’s Setup Assistant will launch automatically and reinstall the keyboard driver.
Summary
In this guide on reinstalling the keyboard driver, we’ve explored multiple methods of getting this task done quickly on a Windows PC. We’ve also briefly discussed reinstalling the keyboard driver on a Mac computer.
Hopefully, reinstalling the keyboard driver fixed the issues with the hardware, and now you can type without any hiccups.
Frequently Asked Questions
If your laptop keyboard is not working, there might be an issue with the laptop’s battery under the keyboard.
To fix this issue, shut down your laptop and remove its battery. Now connect the battery power cable to your laptop. Switch it on using the AC power only, and see if your keyboard is working fine.


